zaterdag 20 augustus 2016

Painting the background and light carriers

Modules are sanded and ready for painting:


The blue I use:


Rolling it on the background, first wet layer:


And first layer on:


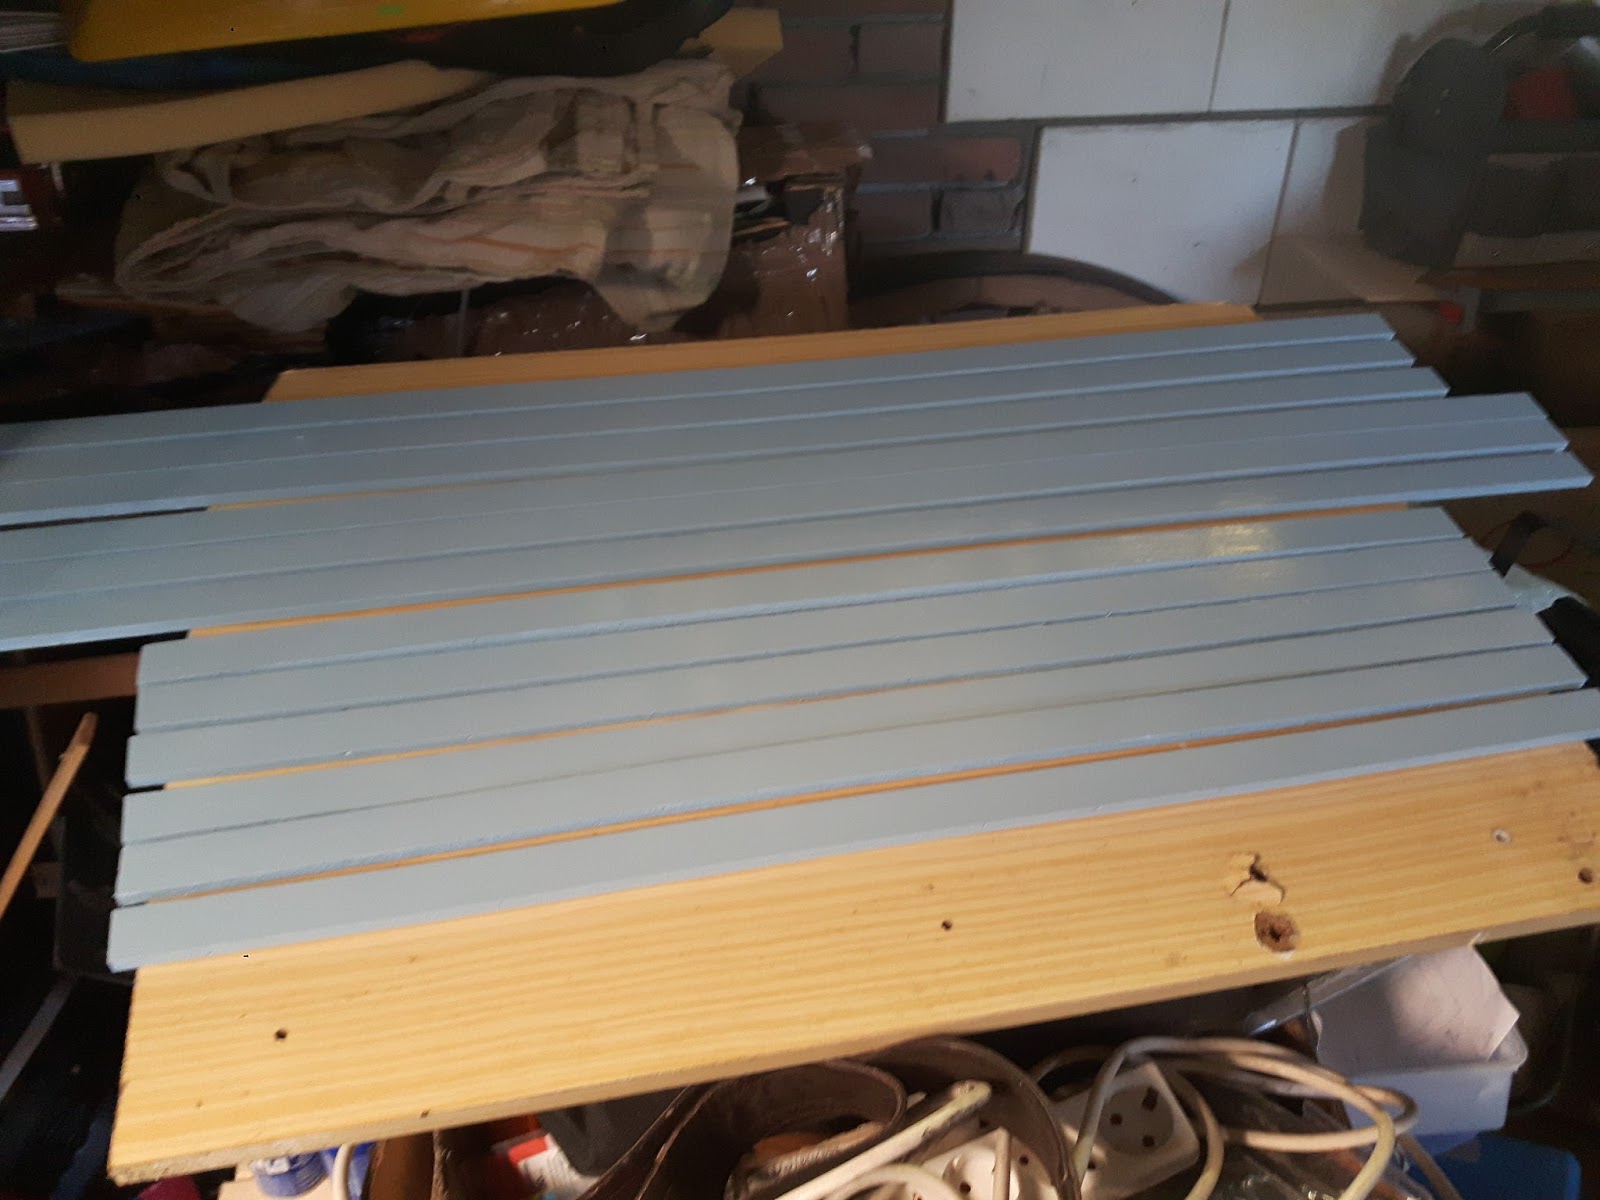
Carrier strips with first coat drying:


After second coat it still has too much "shine":


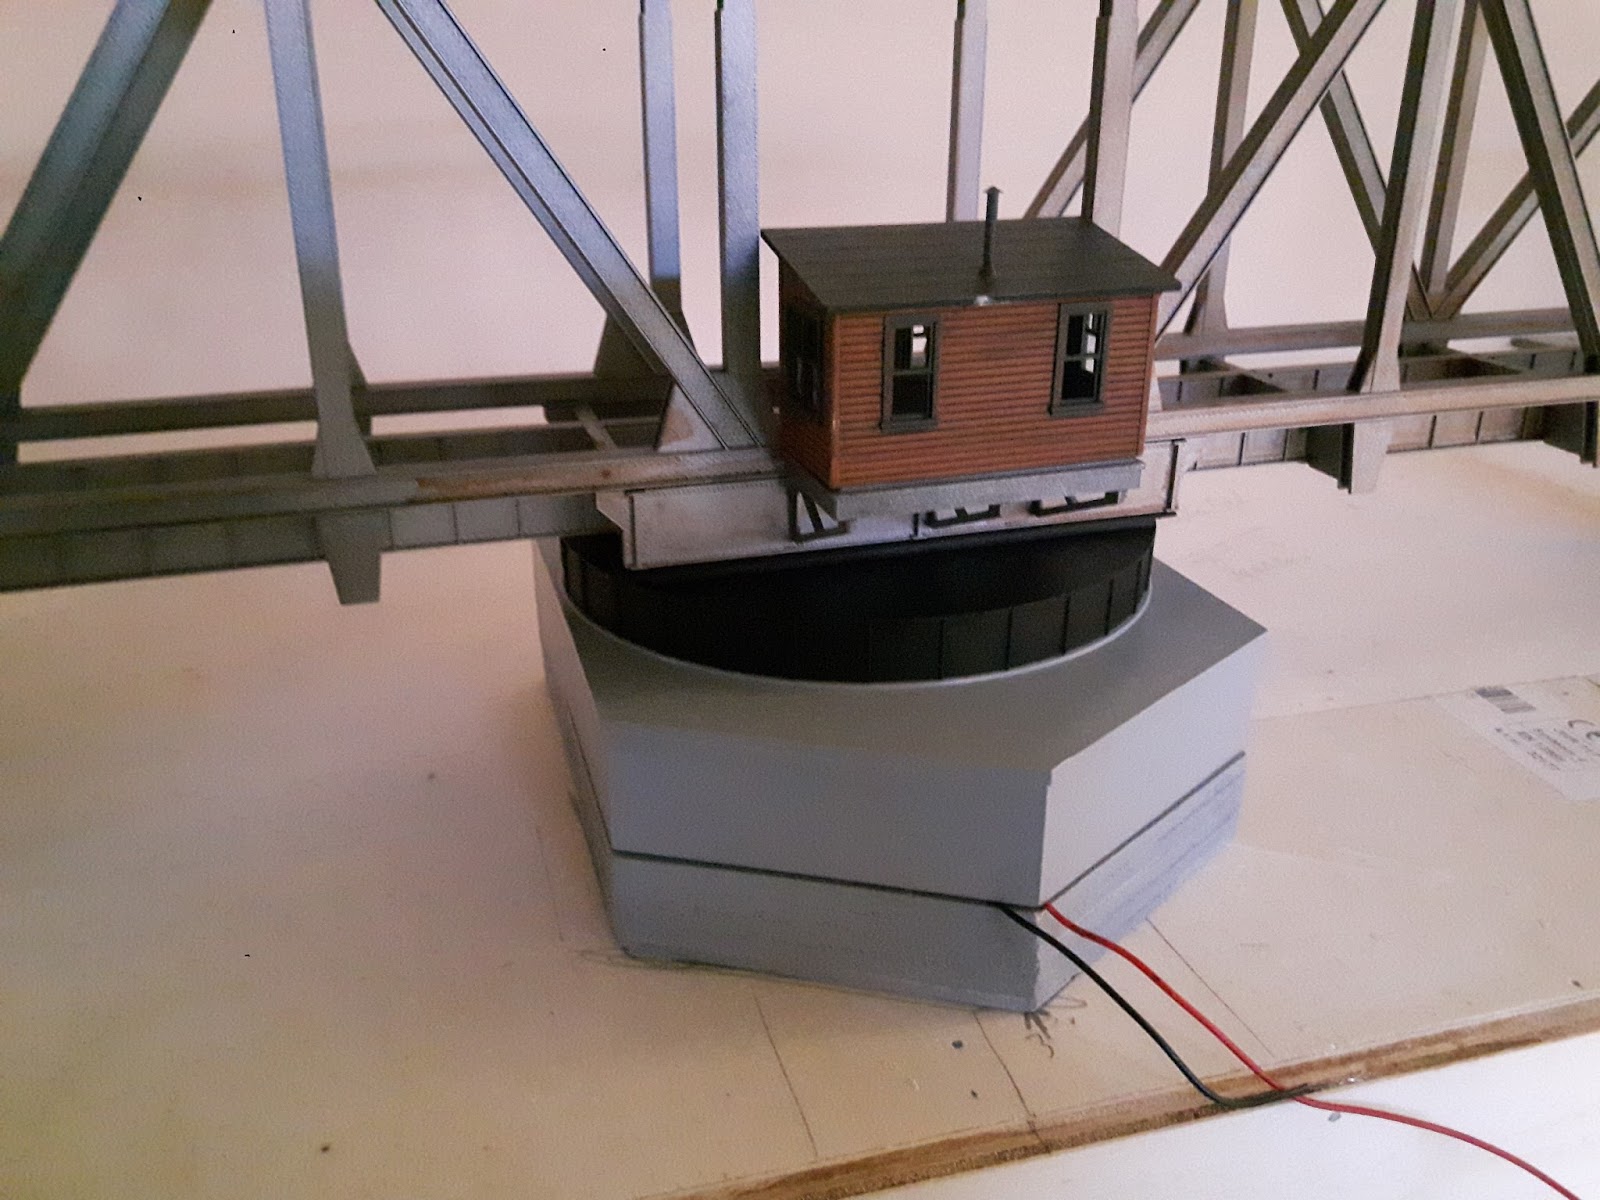
3 sets light carriers ready:


Top of modules also in colour:


And light carriers drying from second coat:


Today I matted the background with Motip matt clear coat. First layer on and drying:


I think this is a huge improvement, now it has to dry and see if it needs eventually a second coat. Maybe I do that after I will make a nice background and coat that in matt.

Later!

zondag 14 augustus 2016

Staining some wood

Stained both types of ties in thinned brown colour:


And drying:


This afternoon I compared the colours in the light. I am satisfied with the brownish look of the ties:


And made a base for the assembly of the trestle legs:


Later!

zaterdag 13 augustus 2016

Sawing and painting some wood!

Made the strips for my LED lighting today. Used a table circular saw:


Works:


Made sets for all modules:


3 sets for 4 modules:


Painted it tonight in ground colour:


The battlefield after painting......:


Later more!

woensdag 10 augustus 2016

More pics

Had forgotten some pictures. This is the new height wet in the JV drawing:


And the drawing set in the layout:


Also did some colour stain testing on the JV wood as on Kappler ties:


Translation: grijs = grey, bruin = brown

dinsdag 9 augustus 2016

Painted the bridgewalls today:


I think still too dark.
Determined the swing of the bridge and draw that on the layout:


Made a drawing for the right short trestle. Starting with a piece of A4 paper:


Marked the end points:


With the help of this tool once belonged to my dad (he was a carpenter):


Drawing the lines:


And glued it on a piece of board:


Oeps... had to be mirror image so I made a new one and glued that on the other side of the board:


Measuring out the place of the ties:


And the stuff needed to make this drawing:


With the drawing of the kit and the SP plans I can make a fairly precise copy of it:


And in the layout to see if it will fit:


More to come!

maandag 8 augustus 2016

Some paintwork

Painting the base of the swing bridge:


Also the wooden part, first priming:


Painting it grey:


Some grey went trough the seems of the masking tape, had to redo some of the black:


 Mockup of the painted parts:


And a nice bridge view of what it will become:


Later more: